Read Also: How to track steps on Android?
Colour Correct Pictures on Android using Adobe Lightroom App
Adobe Lightroom is one of the best photo editing apps you can use on Android. It is highly rated among critics and users alike and can be downloaded for free from the Google Play Store. Here is how you can colour correct your pictures using Adobe Lightroom. Step 1: Download and install Adobe Lightroom from Google Play Store. Step 2: Import the image you want to edit by clicking on the blue icon at the bottom right of your screen.
Step 3: Select ‘All Photos’ and click on the image you imported.
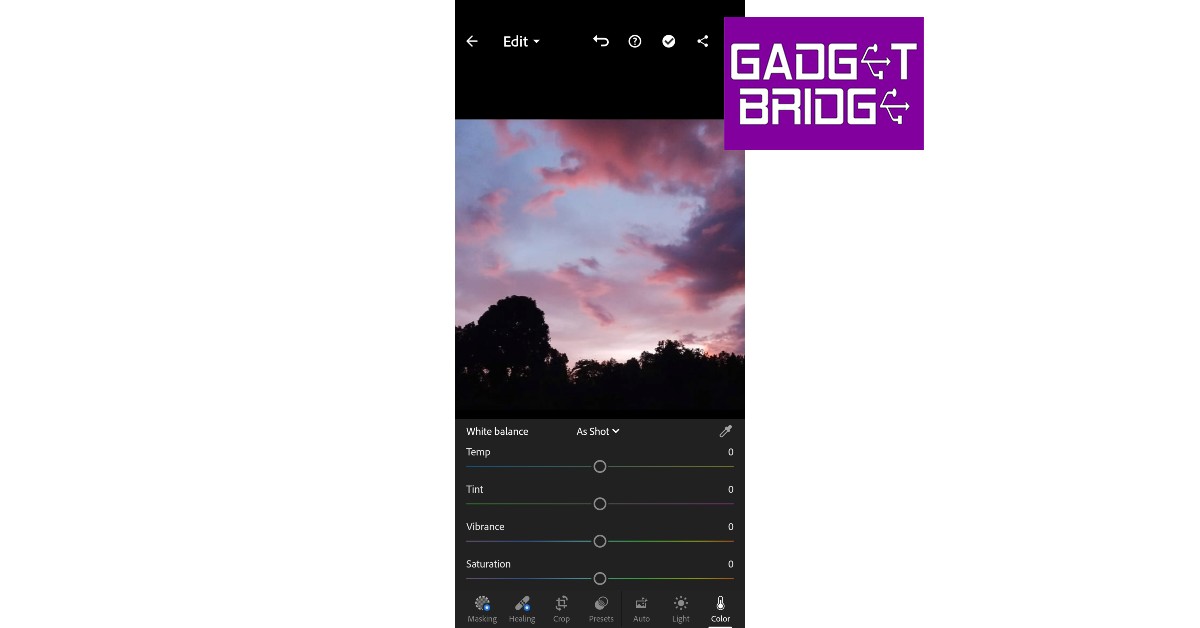
Step 4: Tap on ‘Colour’ from the bottom menu. Use the White Balance options to control the underlying tone of your image. For example, if you shot the image in the bright afternoon sunlight, you can decrease the temperature to simmer down the brightness and give it a different tone.
Step 5: Tap on ‘Mix’ to further control how different colours appear on your image. You can individually select a colour and change its ‘Hue’, ‘Saturation’, and ‘Luminance’ on the image. Manually control the slider until you feel you’ve reached the result that matches the scene you saw with the naked eye.
Step 6: Once you’re satisfied with the result, save the image. Read Also: How to Recover Deleted Files from Android without Root This is how you can colour-correct pictures on Android. Colour correction also comes in handy while editing videos, since the lighting conditions are rarely uniform while shooting the footage. With colour correction, you can bring consistency to the video by balancing all the colours. You can even add a colour tone to the entire video, giving it a certain mood and making it more appealing.


